
Solutions · Colocation & Hosting · Onboarding
Data center colocation onboarding, step by step
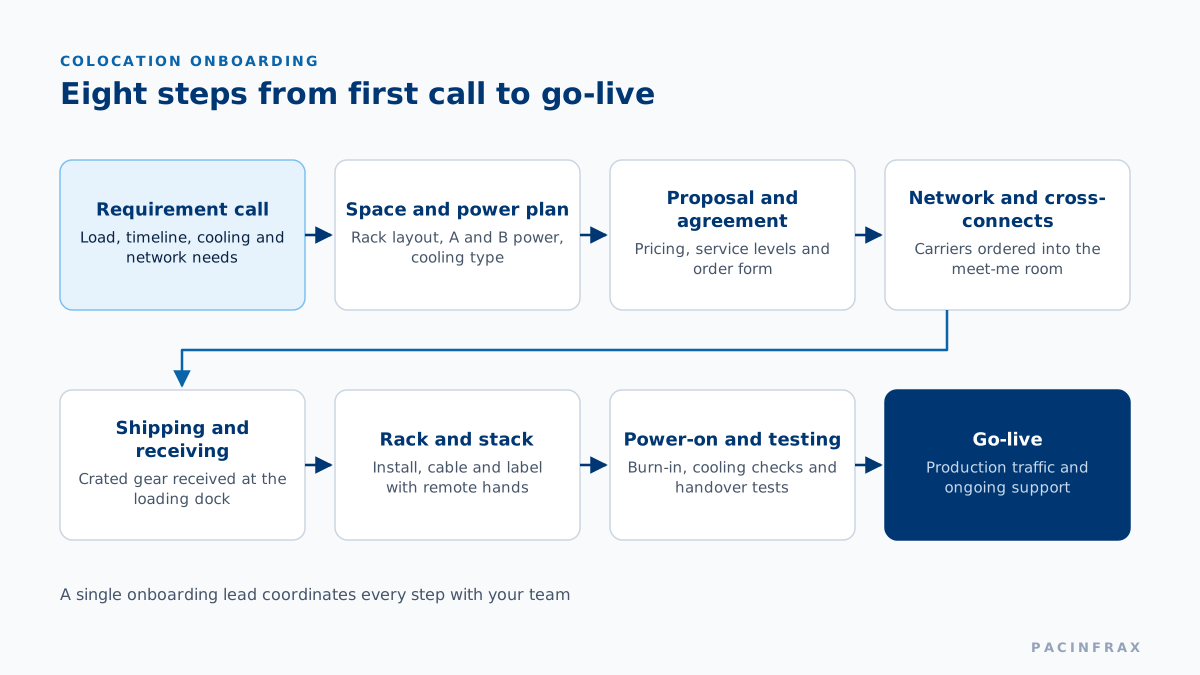
Moving servers into PacinfraX colocation takes eight steps: requirement call, design review, proposal and agreement, pre-install, receiving and staging, install, network, and go-live. One colocation engineer runs the plan with you. This guide shows what you bring, what we prepare and what happens at each step, with a 13-point checklist for shipping.
Updated
The journey
Eight steps from Request capacity to live racks
Say you run 20 GPU racks today and want them in a liquid-cooled hall. You press Request capacity, and we reply within two business days with a time for the requirement call. From there, every step has an owner, a list of inputs and a clear result.
Which steps do what
- Steps 1–3 agree what you need and put it in writing.
- Step 4 gets your hardware, people and paperwork ready to ship.
- Steps 5–7 bring the servers in, power them up and connect them.
- Step 8 hands over a running deployment with remote hands and tickets.
Colocation is delivered in campus halls as they energize; Nam Thang Binh phase 1 (20 MW IT load) is targeted for 2026–2027 — reserve your requirement now.
Diagram: eight onboarding steps
Steps 1–3
Requirement call, design review and agreement
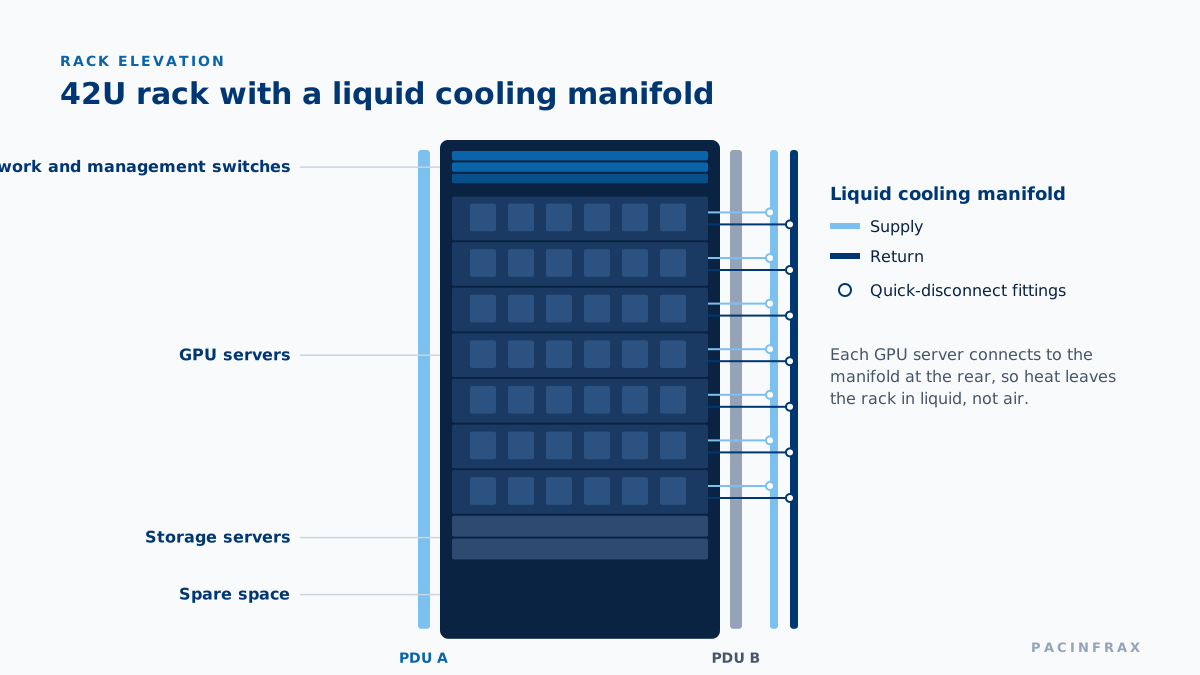
Diagram: 42U rack elevation
Requirement call
We cover rack count, power per rack, cooling type, network, market and move-in date. You leave with a named colocation engineer and a list of what the design review needs.
Design review
We work through your rack elevations, power per rack and cooling for each row, then lay out positions, PDUs, cable paths and space for your next phase.
- Rack elevations and weight per rack
- Power per rack and A+B PDU plan
- Air, rear-door or direct-liquid cooling per row
Proposal and agreement
The proposal sets out space, power, cooling, services, the handover date and reserved growth positions. Signing the agreement holds your rows and handover date. Once signed, the hall team starts preparing your rows.
Step 4
Pre-install: get people, paperwork and crates ready
Pre-install turns the agreement into a move plan. You receive a pre-install pack, and we work through it together until every item is closed.
Six things to prepare before install
- Rack and PDU assignment: rack IDs, positions and the PDU outlets each device plugs into.
- Access: the people on your access list, their roles and who approves changes.
- Shipping address: the receiving address, dock hours and the booking process for deliveries.
- Insurance: your certificate for hardware in transit and on site.
- Packing: crate labelling rules, asset lists and how to pack liquid-cooled servers.
- Import and export paperwork: customs clearance, importer of record and any export licenses for your hardware.
What the hall team prepares in the meantime
While you prepare, the hall team prepares your rows: PDUs installed and tested on both feeds, coolant connections fitted for liquid-cooled racks, cable trays and fibre paths run to the meet-me room, and your access list loaded at every security layer. By the end of step 4, your space and your crates are both ready, and the delivery date is booked with the dock team.
Photo: Server rack close-up

Checklist
Before you ship: a 13-point checklist
Close every item before your carrier collects the crates. Your colocation engineer checks the list with you on a short call.
The 13-point checklist before you ship
- Final rack elevations, one per rack, with server, switch and PDU positions
- Power per rack and plug types for every PDU
- Cooling type per rack: air, rear-door or direct liquid
- Asset list with serial numbers, matched to crate labels
- Crate labels showing your company, rack ID and crate count
- Hardware insurance certificate for transit and for time on site
- Carrier booking with the delivery date confirmed by our dock team
- Access list naming who can enter the hall, and who can approve changes
- Cabling plan: port maps, cable types and labelling scheme
- Cross-connect orders placed for every carrier and cloud you need
- Burn-in plan: tests to run and the result that counts as a pass
- Escalation contacts for install day, with phone numbers
- Import and export paperwork: customs clearance, importer of record and any export licenses for your hardware
Steps 5–6
Receiving, staging and install
5. Receiving and staging
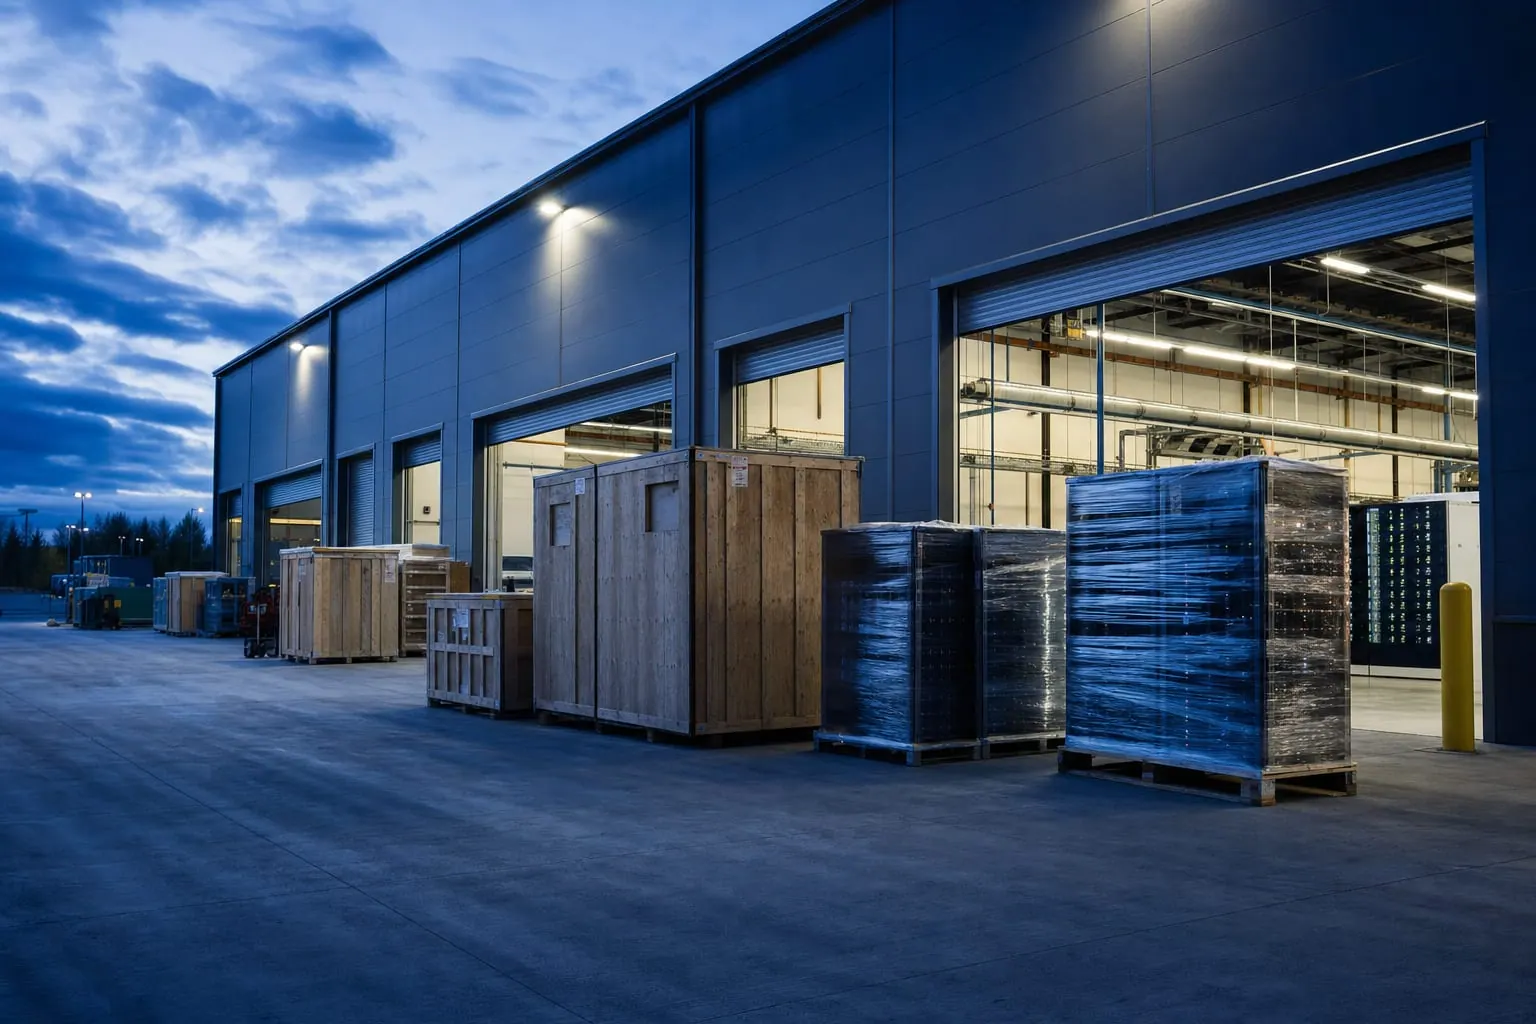
Every hall is run with a loading dock and a secure staging area. The dock team checks each crate against your asset list, photographs any damage, logs serial numbers and holds the crates until install day.
6. Install
Racking, cabling, labelling and burn-in
- Racking: servers mounted to your elevations, with rails and weight checked.
- Cabling: power, network and coolant connections to your port maps.
- Labelling: every device, cable and port labeled to your scheme.
- Coolant: for direct-liquid racks, the server loop filled, pressure-tested and leak-checked before power-on.
- Power-on: A and B feeds brought up rack by rack.
- Burn-in: your tests run under load until they meet your pass result.
Photo: technicians racking a server

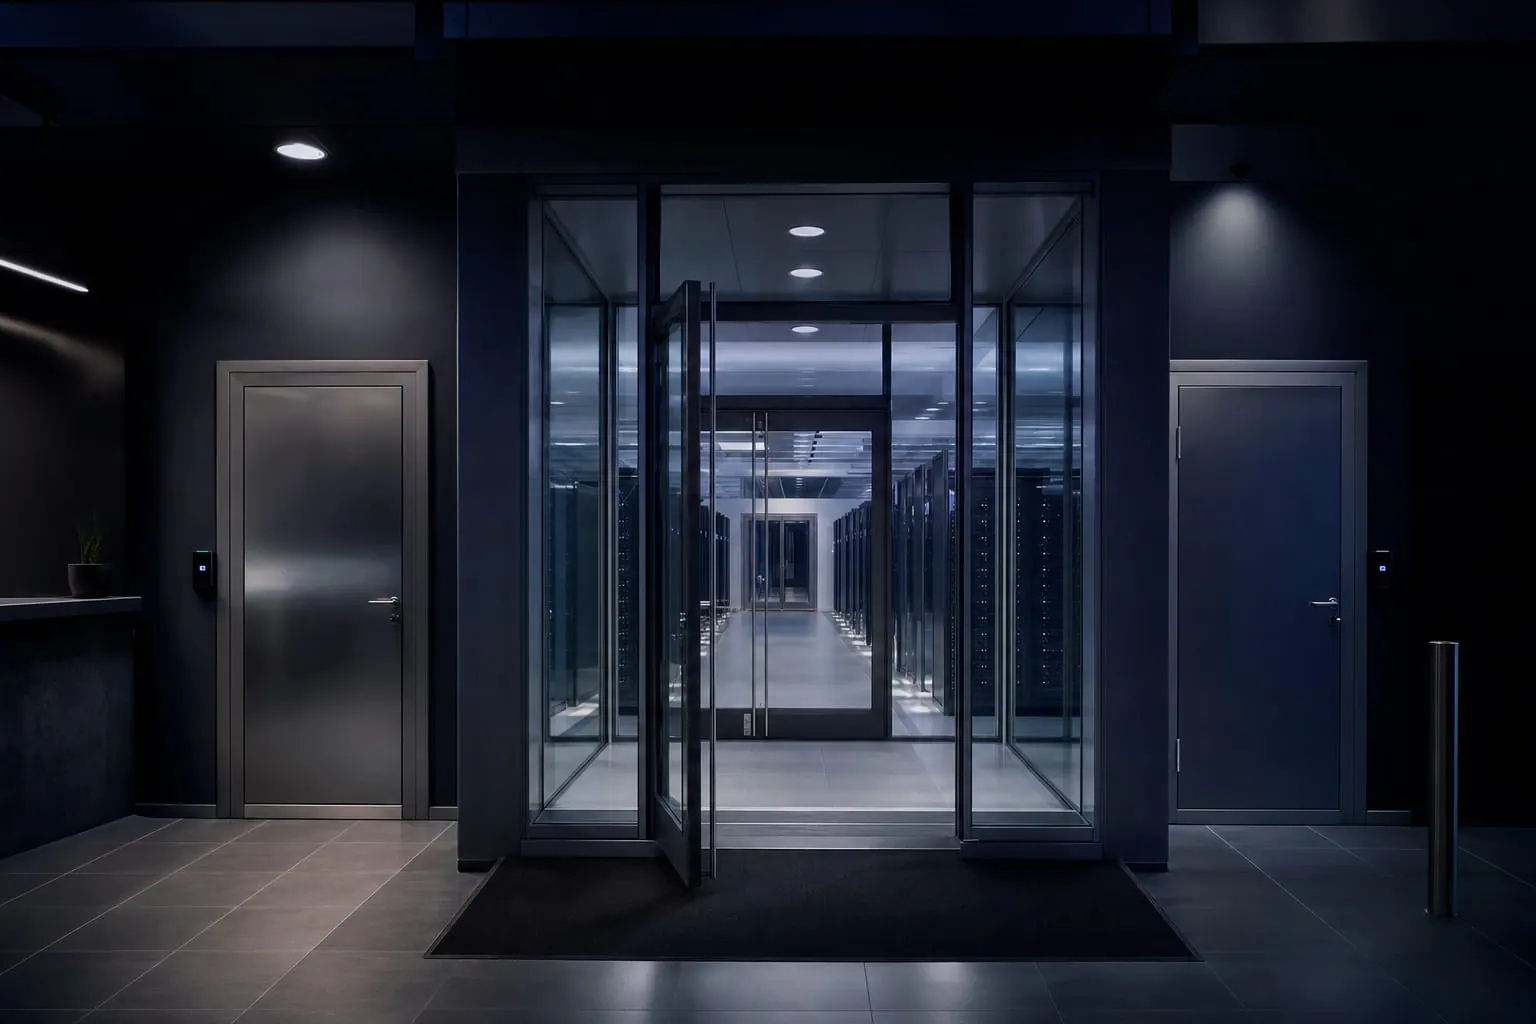
Photo: Secure data center entrance
Step 7
Network: cross-connects, carriers and the meet-me room
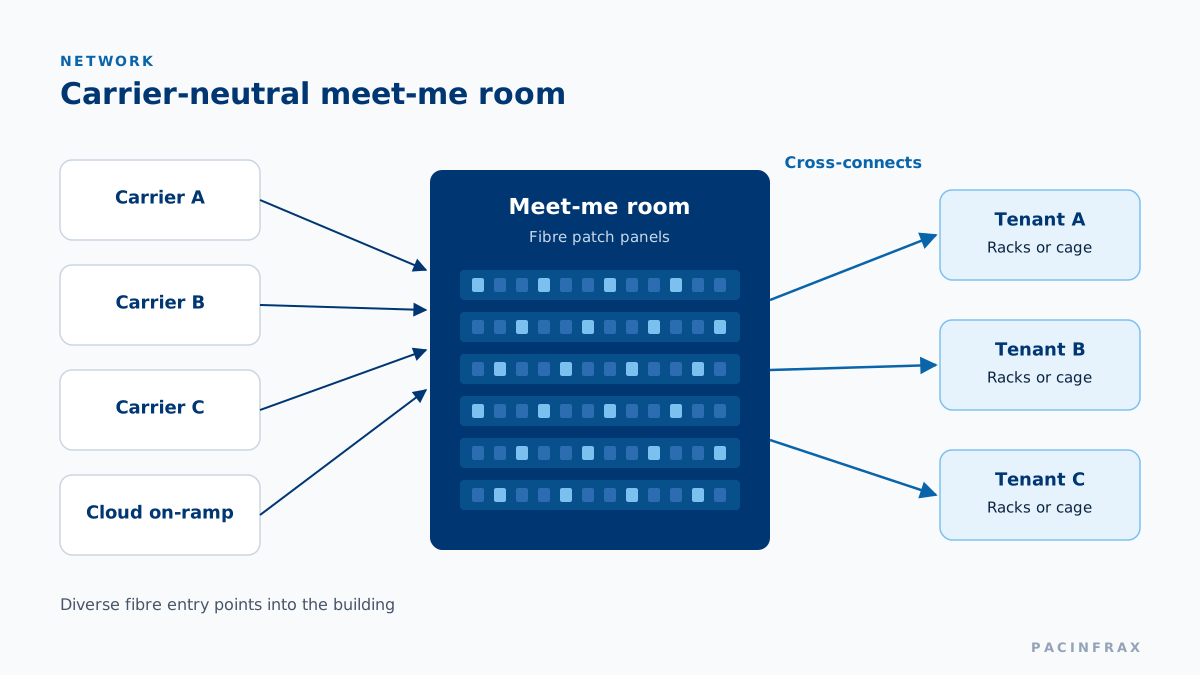
Every hall is run with a carrier-neutral meet-me room. Your racks reach it over structured fibre, and each connection out of it is a cross-connect you order by ticket.
Four ways to connect your network
- Bring the carriers you already use, or add new ones at the meet-me room.
- Order cross-connects to carriers, clouds and your other racks.
- Use dark fibre for private links between your racks and your other sites.
- Test each link end to end before go-live.
See the network design in the colocation specifications.
Diagram: meet-me room cross-connects
Step 8
Go-live and day-to-day operations
Go-live is a joint sign-off: burn-in passed, links tested, access list active. From that day, operations run on four routines.
What you get at go-live
- Remote hands: reboots, part swaps, cabling and visual checks by on-site technicians.
- Portal and tickets: one place to request work, order cross-connects and track progress.
- Access: you add or remove people, and every entry is logged.
- Maintenance windows: planned facility work announced in advance; your changes booked as change windows.
Photo: rack check with a tablet

Migration options
Choose your migration path
Pick the path that matches your risk and timing. Your colocation engineer plans each one through the same eight steps.
Deploying a new cluster? Read the GPU hosting guide, or go back to colocation options.
Photo: GPU racks in a hall

Lift-and-shift, phased and new-build migration compared
| Path | How it works | Best when |
|---|---|---|
| Lift-and-shift | Existing servers are powered down, crated, shipped and reinstalled in one move. | A short planned outage is acceptable and the hardware stays in service. |
| Phased | Racks move in waves; each wave goes live before the next one ships. | Production systems need to keep running throughout the move. |
| New-build | New servers ship straight from the factory to our dock and install fresh. | You are deploying a new GPU cluster or refreshing hardware. |
FAQ
Colocation onboarding questions
How long does the design review take?
It runs as working sessions with your engineers until every rack has a confirmed position, power plan and cooling method. Sending final rack elevations early is the fastest way through it.
Who installs the servers, my team or yours?
Either. Your engineers can rack and cable with our team on hand, or our technicians can install to your elevations and cabling plan while you watch the burn-in results.
Where do I ship my servers?
To the receiving address in your pre-install pack. Book delivery with the dock team first so the crates arrive into a reserved staging slot.
What happens if a crate arrives damaged?
The dock team photographs the crate, records it on the receiving log, keeps it sealed and contacts you so you can call your carrier and insurer.
3 more questions
Can I move in phases?
Yes. Phased moves are the most common path for production systems. We reserve all the rows at the design review and hand them over wave by wave.
How do I request remote hands after go-live?
Open a ticket with the rack, the device and the task. A technician carries out the work, records what was done on the ticket and closes it with you.
How do maintenance windows work?
Planned facility work is announced in advance with the scope and the affected rows. Your own changes are booked as change windows through a ticket.
Need a site rather than racks? See our locations and AI data centers.
Next step
Start your colocation move
Press Request capacity with your racks, power per rack and move-in date. We reply within two business days and book your requirement call.