The eight steps at a glance
A team with twenty racks and a team with two hundred follow the same path. Only the lead times change. Use this sequence as your project plan and assign an owner to each step.
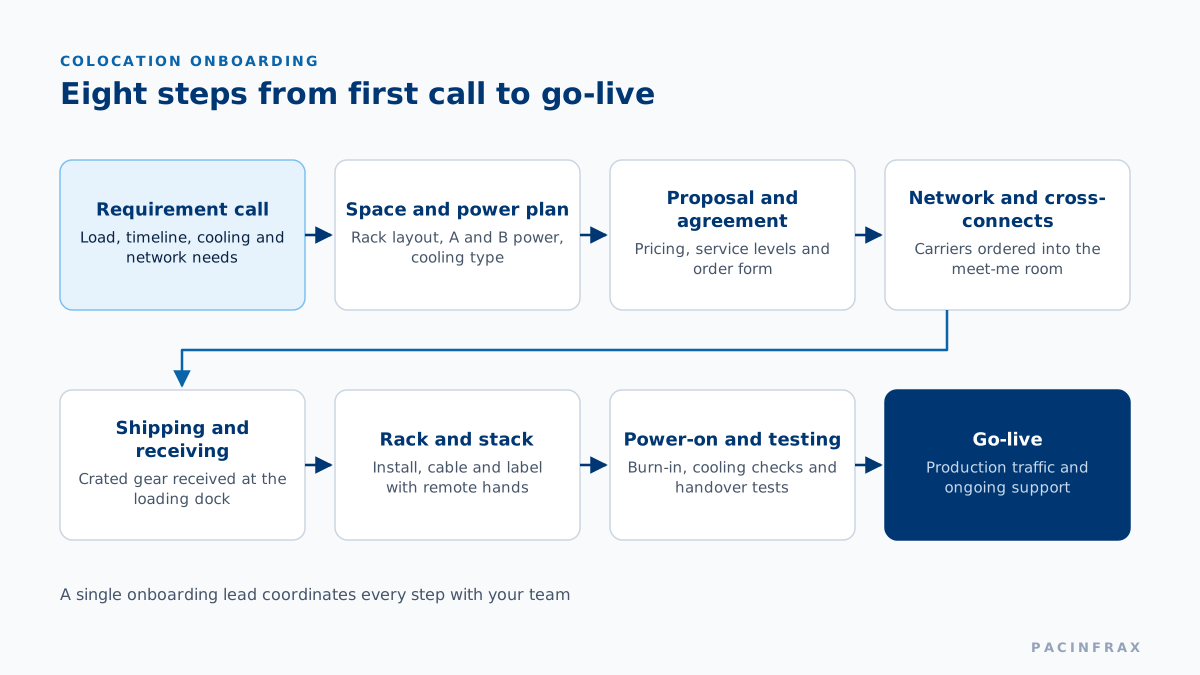
- Requirement call: load, timeline, market, model and cooling.
- Space and power plan: rack layout, A and B power, cooling method.
- Proposal and agreement: capacity, term, access, services and expansion rights.
- Network and cross-connects: carriers, circuits, addressing and cutover order.
- Shipping and receiving: transport, dock, staging and insurance.
- Rack and stack: install, cable and label every device.
- Power-on and testing: staged power-up, burn-in and acceptance checks.
- Go-live: staged migration, sign-off and handover to operations.
Your hardware inventory is the input to steps 1 and 2, so build it before the first call.
Step 1: the requirement call, with your inventory ready
Open the first call with five facts: how much load you need, when you need it, which market you prefer, which delivery model fits and how your hardware is cooled. Then build an inventory spreadsheet, one row per device.
| Column | Why the provider needs it |
|---|---|
| Make, model, rack units | Sets rack space and the elevation drawing. |
| Nameplate and measured power | Sizes circuits, breakers and the reserved capacity. |
| Power supplies and plug type | Matches PDUs and the A and B feeds. |
| Cooling type and weight | Decides air or liquid loop, and floor loading. |
| Network ports and speeds | Plans switches, cabling and cross-connects. |
| Workload owner and criticality | Orders the migration waves. |
Add a sheet for non-server equipment too: patch panels, console servers, out-of-band management switches, spare parts and tools. These items are easy to forget and hard to replace on delivery day.
Measure real draw under load when you can. Nameplate figures overstate typical use, and measured peaks protect you from tripped breakers.
Step 2: space and power plan
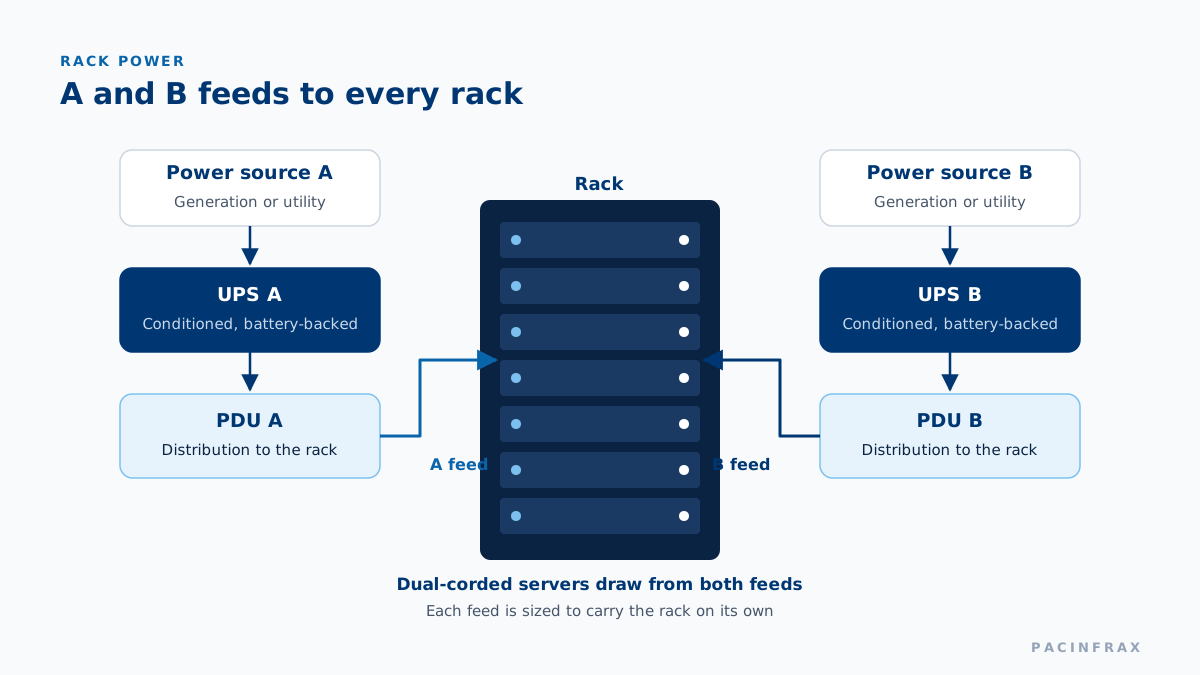
The provider and your team review one set of drawings before hardware ships. Cover four things: how many racks, the kilowatts per rack, how those racks are cooled and how power arrives. Dual power feeds keep each rack running if one path fails.
If your hardware needs direct liquid cooling, confirm the loop connections, the coolant specification and who services the distribution units. Our colocation specifications page lists the design basis, and the liquid cooling guide explains the options.
Steps 3 and 4: proposal and agreement, network and cross-connects
Write down what you reserve and what you can add. Then plan the network, because carrier lead times can exceed hardware lead times.
- Capacity: committed kilowatts now, and the right to add more in defined steps.
- Access: named staff, escort rules, after-hours entry and delivery windows.
- Services: remote hands scope, response times, cross-connect ordering.
- Carriers: which networks reach the building, and how you order circuits.
- Addressing: keep IP ranges where you can, or schedule the changes and the DNS time-to-live reduction.
- Order of moves: start with low-risk systems, finish with the most critical.
Step 5: shipping and receiving
Hardware arrives on pallets, in crates and sometimes in pre-integrated racks. A staging area and a loading dock keep boxes out of the hall until the right moment.
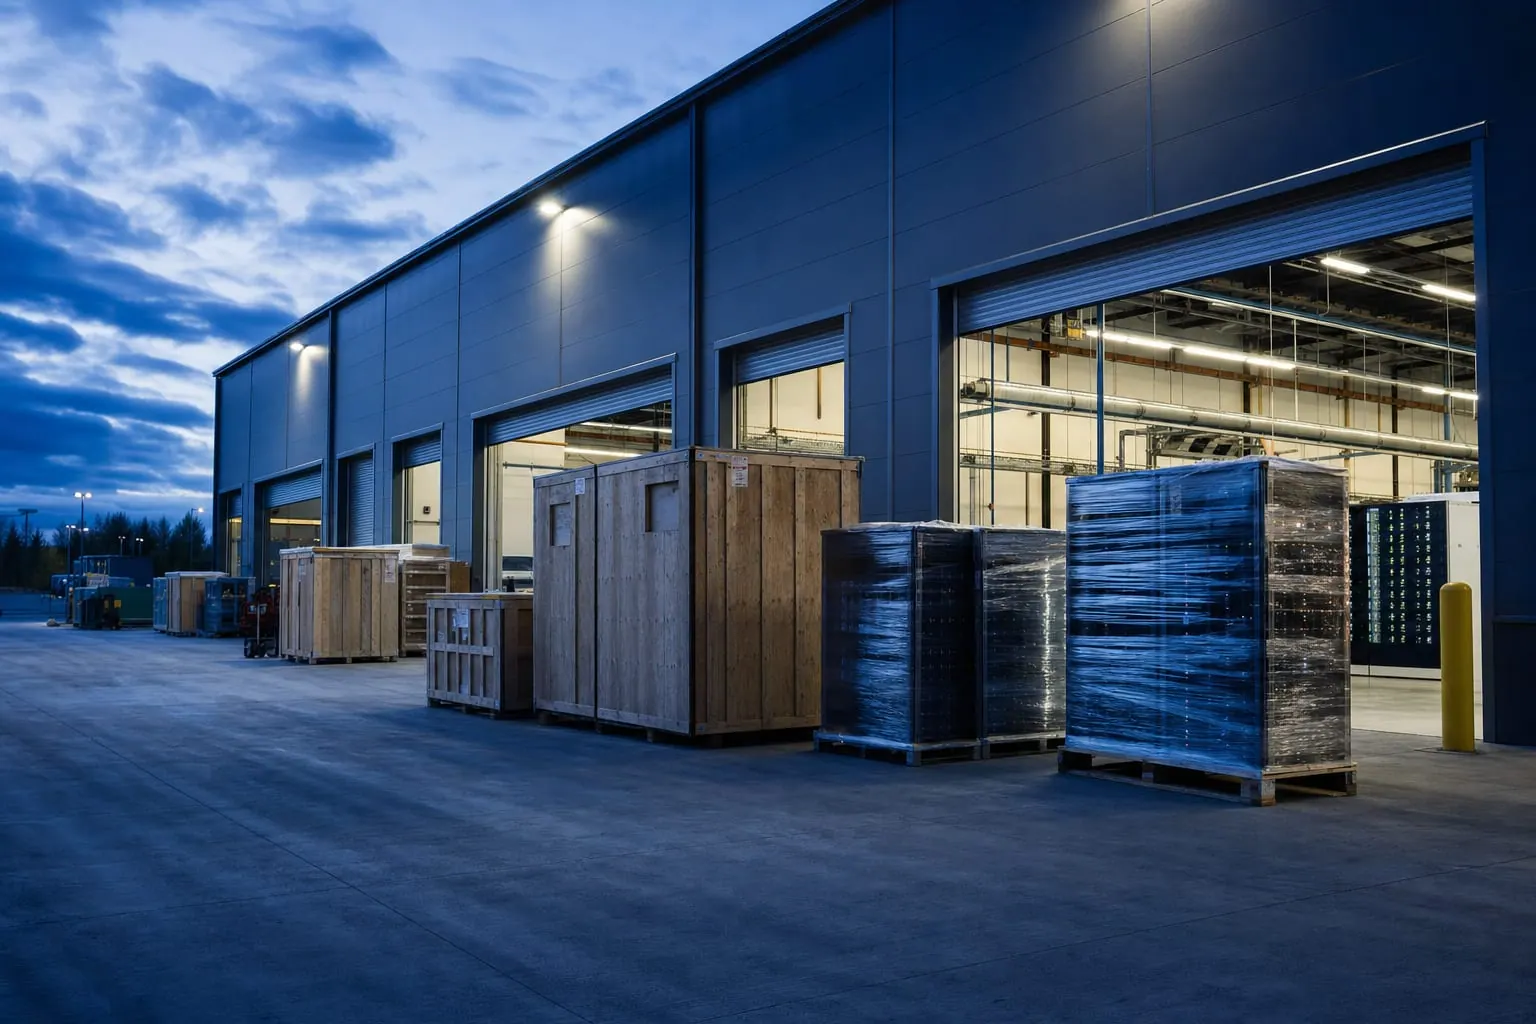
- Book delivery windows in writing and name the person who signs for each shipment.
- Photograph crates on arrival and check serial numbers against your inventory.
- Insure transit for the replacement value of the hardware, not its book value.
- Ship in waves so one lost pallet never takes down a whole workload.
Steps 6 and 7: rack and stack, power-on and testing
Racks are installed to the approved elevation: heavy equipment low, switches at the agreed position, cable managers and labels on both ends of every run. Power up in stages and test each circuit before you load it.

Run a burn-in period before production traffic. For GPU clusters, run a sustained load test so cooling and power are proven at full draw.
Step 8: go-live, cutover and handover
Treat go-live as a series of small moves. For each workload, agree an acceptance test before the move and a rollback condition after it.
| Approach | How it works | Best for |
|---|---|---|
| Parallel run | Replicate to the new hall, then switch traffic. | Production services with strict uptime |
| Lift and shift | Power down, ship, power up in the new hall. | Batch, development and archive systems |
| New-build | Deploy new hardware in the hall, retire the old. | GPU clusters and refresh cycles |
Choose the approach per workload, not per project. Most migrations mix all three, with development systems moving first to prove the process and production services moving last.
Close the project with a handover: as-built rack drawings, circuit lists, contact tree, escalation path and the first review date.
Six mistakes that delay a move, and how to avoid them
- Ordering circuits late. Carriers need weeks to deliver. Order as soon as the contract is signed, and ask the provider which carriers already reach the building.
- Sizing power from nameplates. Nameplate numbers reserve more capacity than you use. Measure draw under load, then add headroom for growth.
- Forgetting weight and clearances. Dense racks are heavy. Check floor loading, door widths and the route from the dock to the hall before ordering.
- Skipping the rollback plan. Every migration wave needs a written condition for stopping and returning to the old site.
- Leaving access rules to the end. Name your technicians early so badges, background checks and escorts are ready on delivery day.
- Treating go-live as the finish line. Schedule a review after the first month to tune power per rack, cabling and monitoring.
A one-page readiness checklist
- Inventory complete, with measured power and network ports per device.
- Rack elevations and A and B power plan approved by both sides.
- Cooling method confirmed, including coolant connections for liquid-cooled gear.
- Carrier circuits and cross-connects ordered with dates.
- Shipping waves, receiving contacts and insurance in place.
- Acceptance tests and rollback conditions written for each workload.
How PacinfraX does it
PacinfraX offers AI and GPU colocation in liquid-cooling-ready halls. Onboarding starts at Request capacity. We reply within two business days, hold a requirement call, run a design review with your team and send a proposal. The onboarding page lists each step, and GPU hosting covers dense clusters.
Because we also develop the power behind each campus, you can plan growth beyond the first racks. Compare your options in colocation vs build-to-suit vs powered shell.
Frequently asked questions
How many racks do I need to qualify for colocation?
There is no minimum that makes colocation worthwhile. Teams place a handful of racks and teams place whole halls. What matters is that you can state your power per rack and your growth plan, so the provider can size the space and reserve capacity.
Do I ship my servers or buy new ones for the new hall?
Both work. Shipping existing hardware lowers cost but adds downtime and transit risk. Buying new hardware delivered straight to the facility avoids downtime, lets you stage and burn in on site, and is common for GPU clusters.
What do I need to bring to the first call?
Bring your total load in kilowatts or megawatts, the number of racks and their power per rack, your target go-live quarter, your market, the delivery model you prefer and the cooling method your hardware needs. A short list is enough; the design review fills in the rest.
Who installs the servers in the rack?
You choose. Many customers send their own technicians for the first install and use the provider remote hands service for later changes. Agree access rules, escort policy and work-hour windows in the contract.
How do I avoid downtime during cutover?
Run the new hall in parallel, replicate data ahead of time, test each workload against an acceptance checklist, and move traffic in stages. Keep the old site live until the new one has passed its agreed observation period.